I saw a similar project on the internet and gained some inspiration and confidence, that this year I have to make some electronic gift. Very nice design. Touch resistive button. But I had no SMD transistors so I’ve made everything easier.
Atmel chip
I used what I had in my shelf. The prototype was made on a breadboard with old DIP 90S2313 with external crystal (what a great device, only 2 fuse bits because there’s nothing to configure at all :) ). I had to use low voltage level interrupt and not triggered interrupt with falling edge, because that is not enabled in low-sleep mode. After I successfully woke up the atmel, I started working on layout. You don’t have to change any fuse bits, just solder your just bought Attiny to the board.
Code
Code is in quick and dirty style. You better don’t learn from this sample and don’t ask or post suggestions.. there’s a lot of options to make code better, I know :) I had serious deadline, 14th of February!
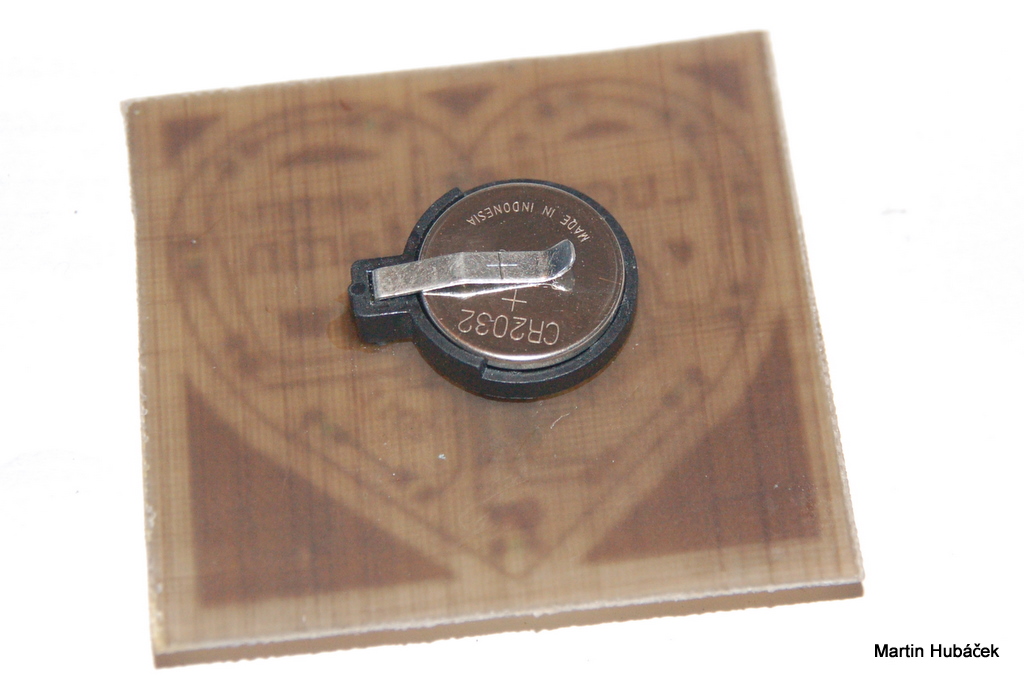
Battery consumption
Device with all 8 LEDs on consumes about 160mA. When is in sleep mode, the consumption is under 0.20uA according to datasheet, 0.00mA according my reasonably priced multimeter :)
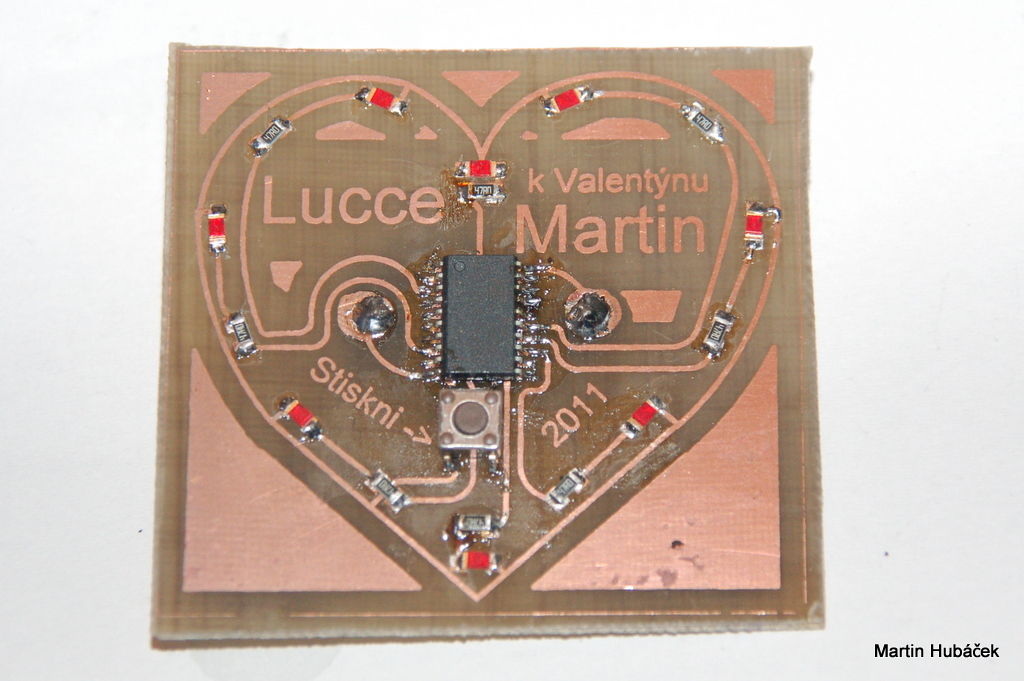
Schematics & Layout
What an innovative heart design :) On the board is place for smaller SMD button but I used the bigger one because is easier to press. It doesn’t fit perfectly but I soldered it on finally. Also the battery holder was not in my eagle library so I used capacitor schematic part with similar pitch.
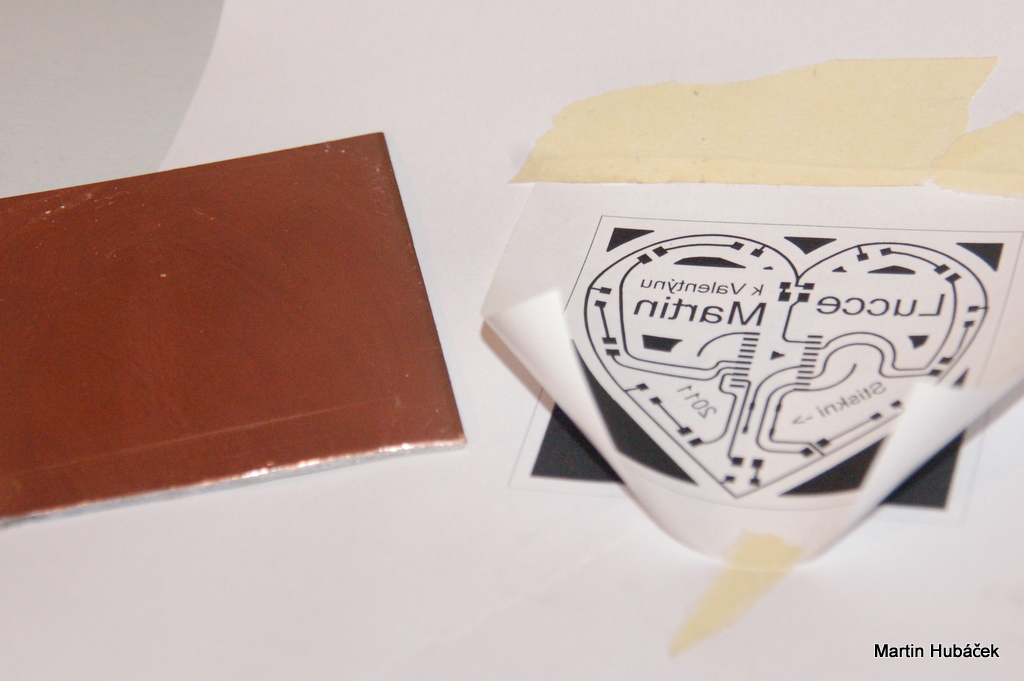
Etching
I’m using toner transfer method. See pictures below.
Putting it together
There are no ISP pads or connector, for programming I soldered wires directly to MCU pins. Try solder better than me, and your board will look better.
FATAL WARNING
Make sure that you change at least the name of your girlfriend on the board ;)
Download